
All EQ controls on the Little Mark head were set to neutral and the Old School feature was off.
The demo is based on the Level 42 classic ”Running in the Family”.
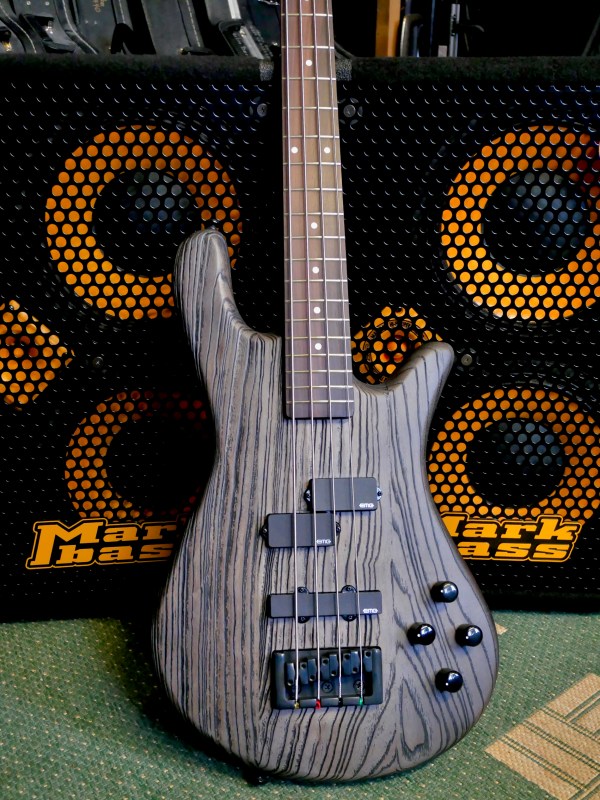
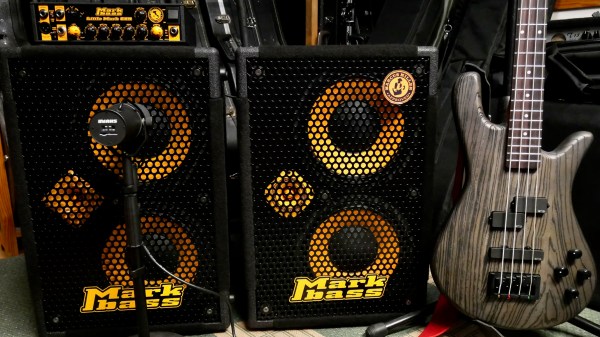
Spector NS Pulse 4 Charcoal Grey
• Made in South Korea
• Swamp ash body
• Three-stripe roasted maple neck, bolt on
• Macassar ebony fretboard
• Active EMG PJ set
• Spector Tone Pump Jr preamp
Markbass Little Mark 58R
• Ultralight (2.2 kg) 500 W bass amplifier
Markbass 58R 102 P
• Ultralight bass cabinet
• 2 x ceramic speakers plus piezo tweeter
Markbass 58R 102 Pure
• Ultralight bass cabinet
• 2 x neodymium speakers plus Hi-Fi tweeter
****
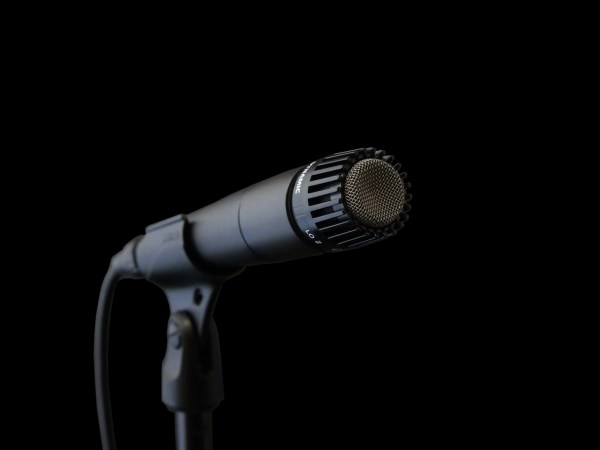
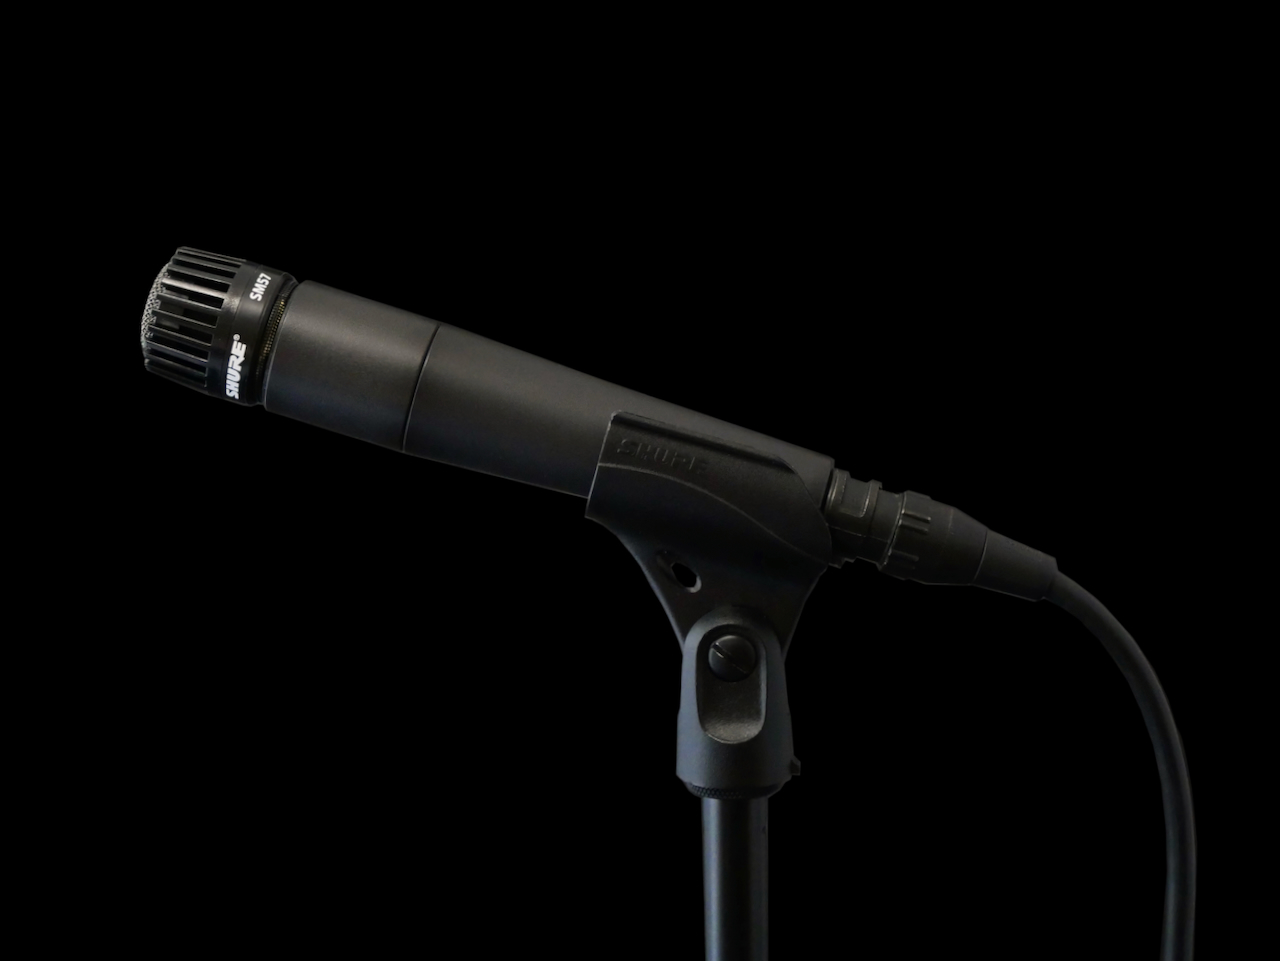
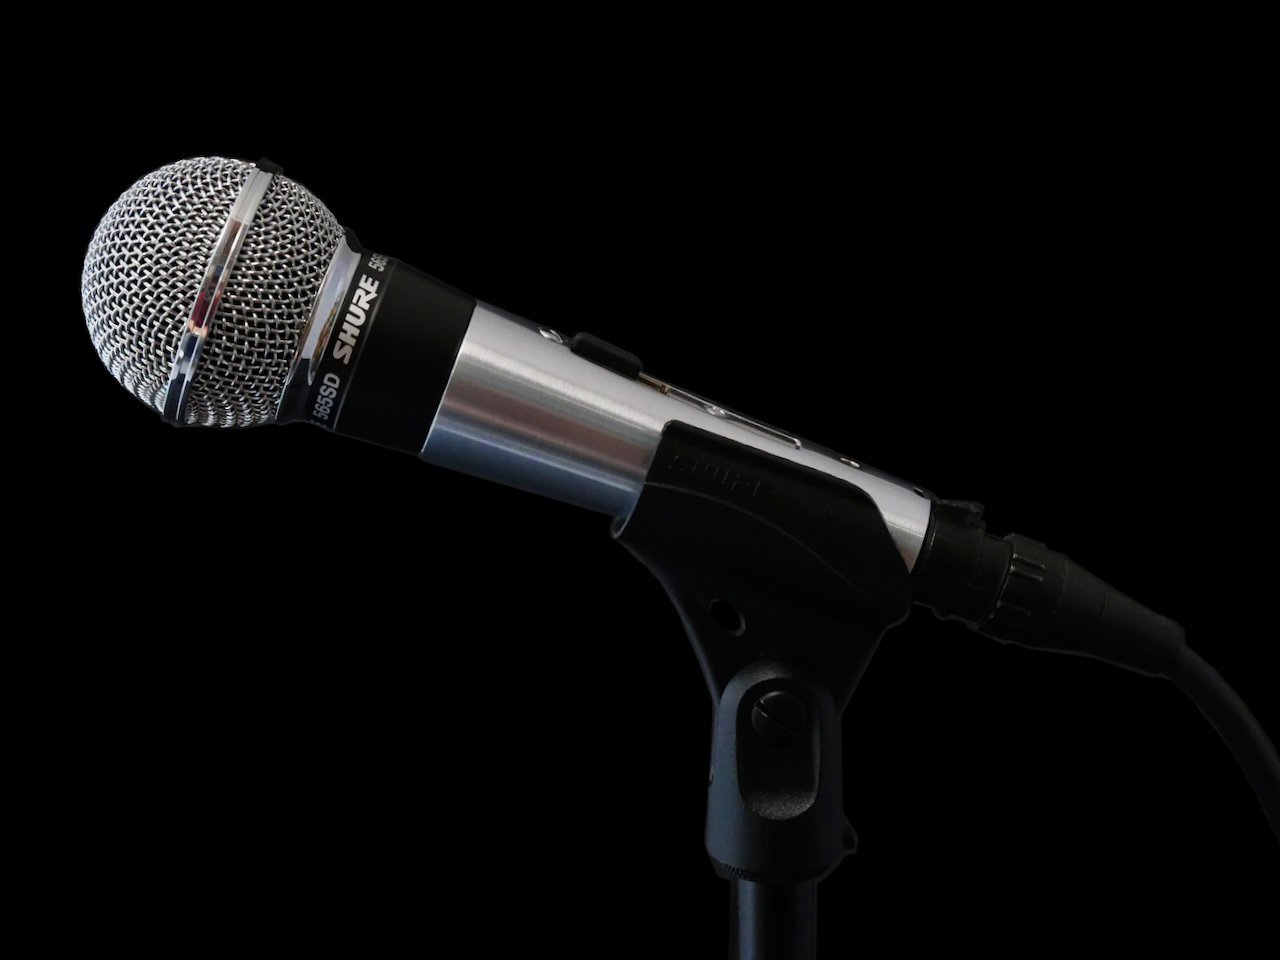
• Microphone used: Shure SM7B (mid-boost on)
• Preamp used: Cranborne Audio Camden EC2
• Audio interface used: Universal Audio Volt 2